Repotting orchids is an essential task that every orchid enthusiast should undertake to ensure the continued health and growth of their beloved plants. Orchids are delicate and unique plants that require specific care, and repotting is a crucial part of their maintenance routine. In this article, we will explore the process of repotting orchids, the reasons why it is necessary, and the steps you should follow to achieve successful repotting. So, let’s dive into the world of repotting orchids and discover how to keep these stunning plants thriving.
Why Repotting Orchids is Important
- Promotes Root Health: One of the primary reasons for repotting orchids is to maintain the health of their roots. Over time, the potting medium used for orchids can break down, become compacted, or lose its ability to retain moisture. Repotting allows you to refresh the potting medium, providing the roots with better aeration, drainage, and nutrition.
- Prevents Pot-Bound Roots: Orchids have a tendency to outgrow their pots, and when this happens, their roots become bound and overcrowded. Repotting orchids enables you to give their roots ample space to expand and grow, preventing them from becoming pot-bound. Healthy roots are vital for the overall well-being of the orchid.
- Eliminates Disease and Pests: By repotting orchids, you have the opportunity to inspect the roots for any signs of disease or pests. Removing old potting medium and inspecting the roots carefully can help identify and address any issues early on, preventing the spread of diseases or infestations.
When to Repot Orchids
- After Bloom: The best time to repot an orchid is immediately after it finishes blooming. This is when the orchid is entering its active growth phase, and repotting during this time gives it the best chance to establish new roots and recover from the process quickly.
- Every Two Years: In general, orchids should be repotted every two years to ensure their continued health and growth. However, this timeframe may vary depending on the species and the condition of the plant. Some orchids may require more frequent repotting, while others may thrive for longer periods in the same pot.
Step-by-Step Guide to Repotting Orchids

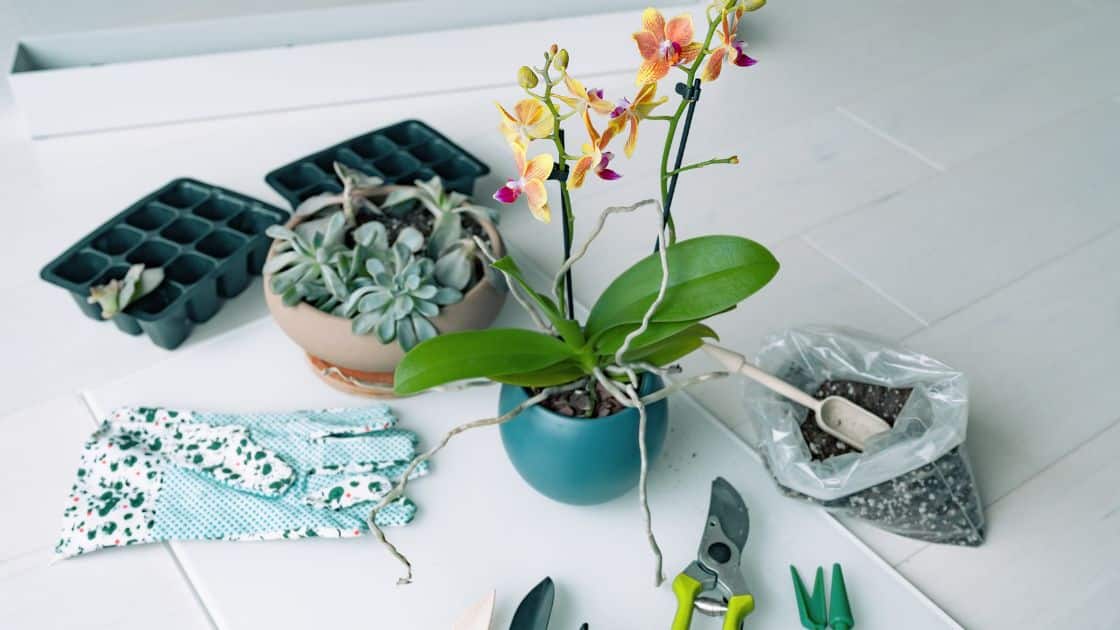
- Gather Supplies: Before starting the repotting process, gather all the necessary supplies, including a new pot, fresh potting medium, clean pruning shears, gloves, and a watering can.
- Prepare the Pot: Select a pot of appropriate size and material for your orchid. Ensure that it has drainage holes at the bottom to prevent waterlogging. Clean the pot thoroughly to avoid any contamination or transfer of diseases.
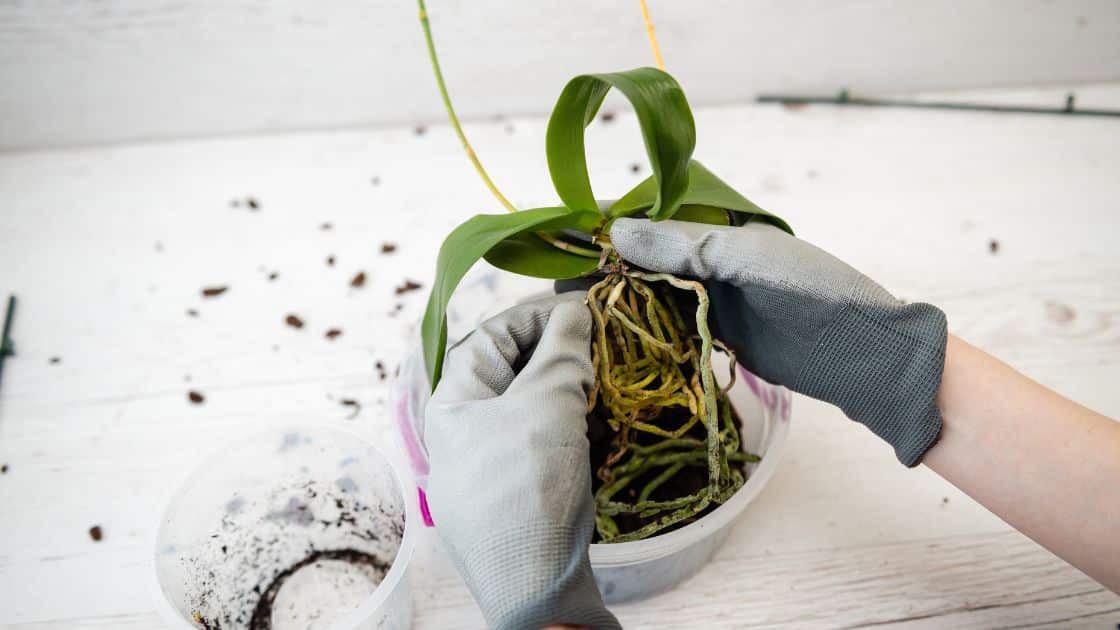
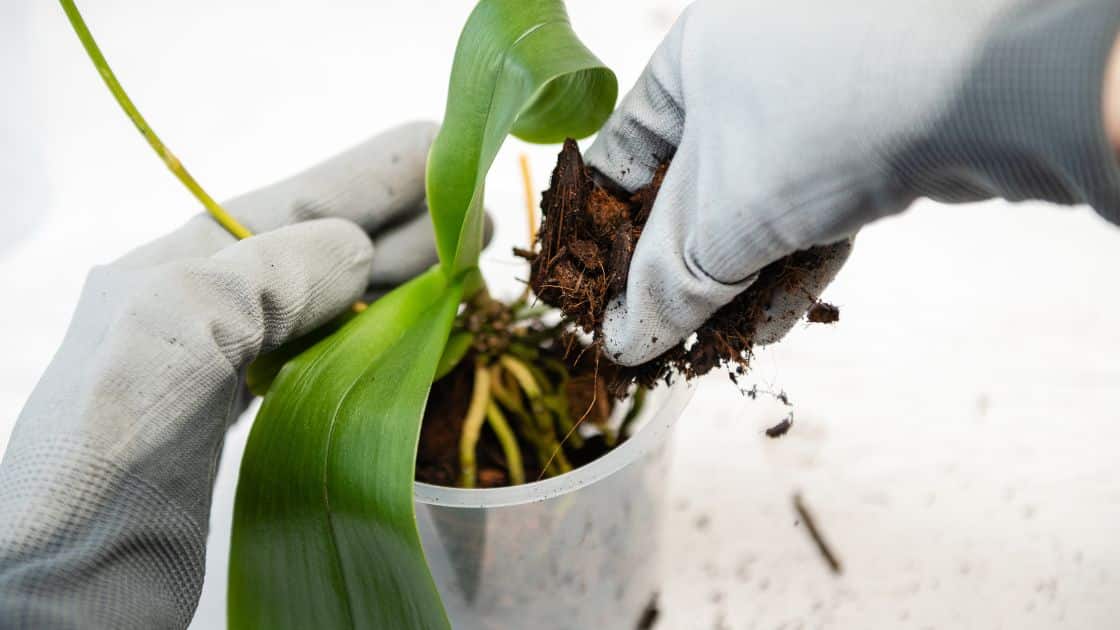
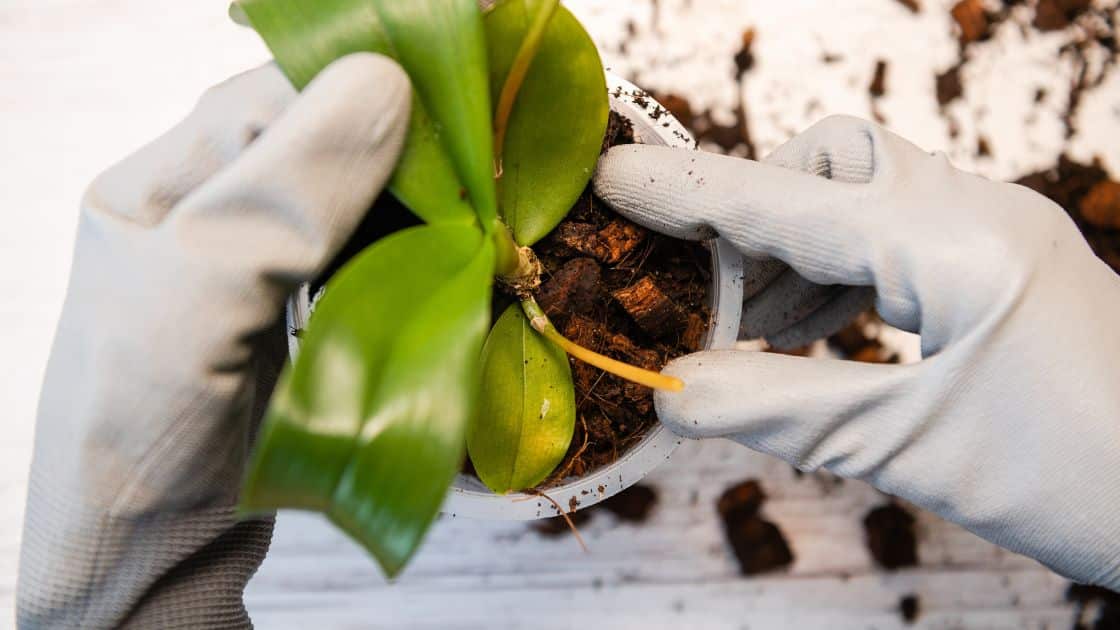
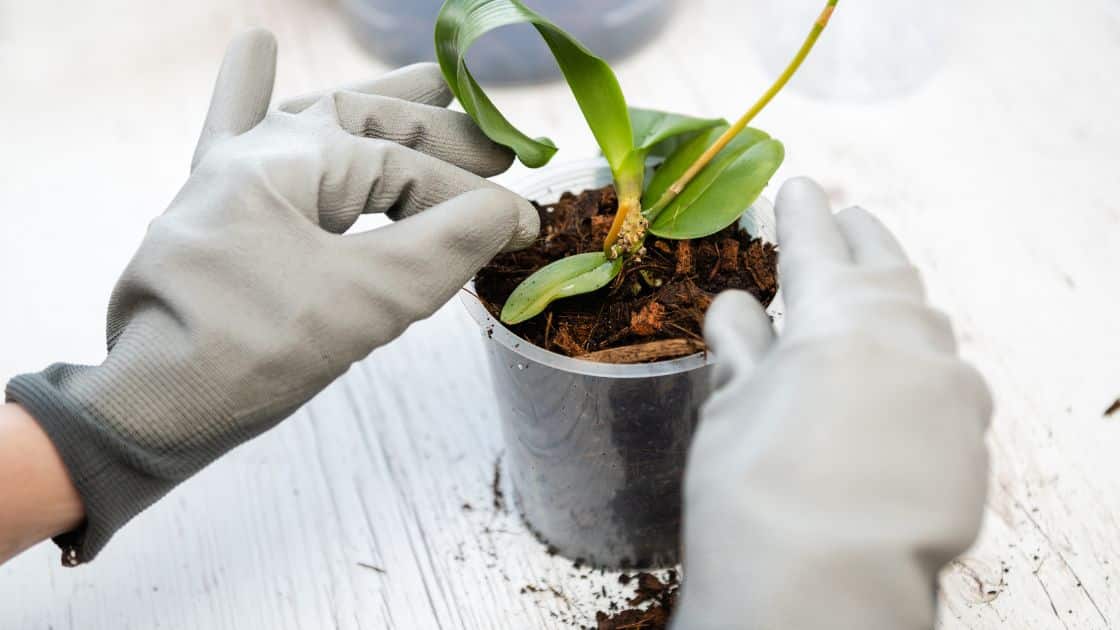
- Remove the Orchid from its Current Pot: Gently remove the orchid from its current pot by carefully loosening the potting medium and holding the base of the plant. Be cautious not to damage the roots or break any stems or leaves.
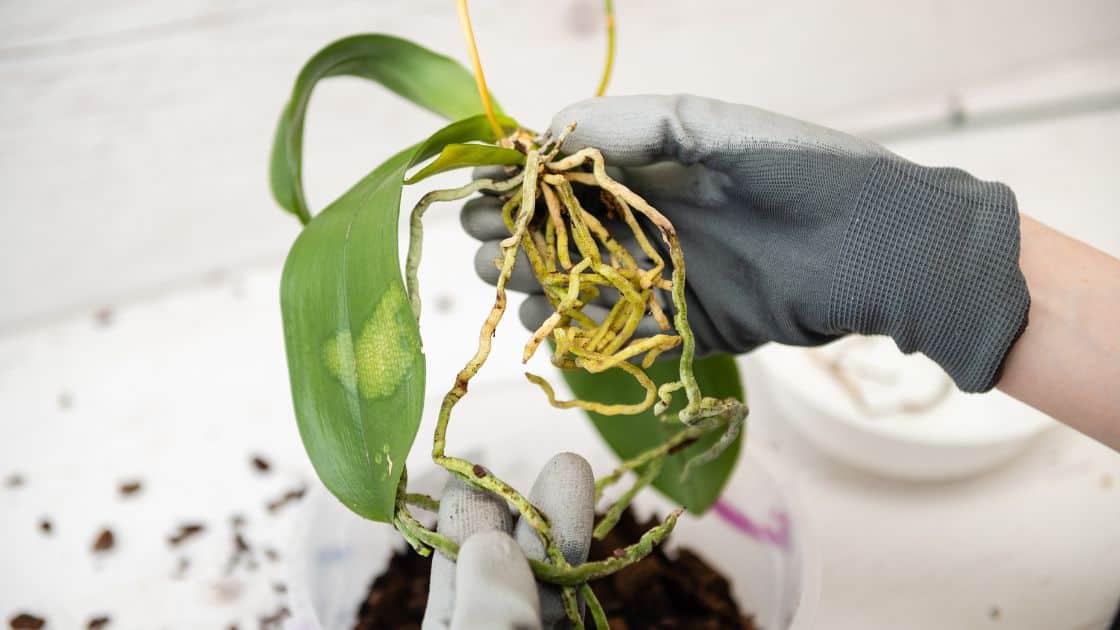
- Inspect and Trim the Roots: Inspect the roots of the orchid for any signs of rot, disease, or pests. Trim off any unhealthy or dead roots using clean pruning shears. Ensure that the remaining roots are firm and healthy.
- Prepare the New Potting Medium: Prepare the new potting medium according to the specific requirements of your orchid species. Orchids have different preferences when it comes to potting medium, such as bark, sphagnum moss, or a combination of different materials. It is crucial to choose the right medium to provide optimal conditions for your orchid.
- Repot the Orchid: Place a layer of fresh potting medium at the bottom of the new pot. Gently position the orchid in the center of the pot, spreading its roots evenly. Fill the pot with the new potting medium, ensuring that it reaches the base of the orchid but does not bury its leaves or stems.
- Water and Care for the Repotted Orchid: Once repotted, water the orchid thoroughly to settle the new potting medium. Avoid overwatering, as this can lead to root rot. Place the repotted orchid in an appropriate location, providing the appropriate light and humidity conditions for its specific species.
Conclusion:
Repotting orchids is a vital task that contributes to the overall health and longevity of these exquisite plants. By ensuring proper root health, preventing pot-bound roots, and eliminating diseases and pests, repotting orchids provides them with the best chance to thrive. Following a step-by-step guide, you can successfully repot your orchids, giving them a fresh start and optimal conditions for continued growth. So, embrace the art of repotting orchids and enjoy the beauty and elegance these plants bring into your life.